Maintaining a clean CNC machine isn’t just about appearance, it’s about productivity, fluid life, compliance, and preventing costly breakdowns. Over time, bacteria, fungal growth, and sludge can build up in sumps and coolant lines, leading to bad odours, reduced cooling performance, and even health hazards. This guide walks you through the 5 essential steps to machine cleaning, using our Pennine Bioflush System Cleaner and industry best practices.
Why Is Machine Cleaning Important?
- Eliminates harmful bacteria & fungal growth
- Extends the life of coolant and maintains performance
- Prevents machine wear and corrosion
- Helps meet HSE MW05 guidelines
Step 1: Add System Cleaner
48 hours before coolant change, add 1–2% Pennine Bioflush System Cleaner by volume to your existing coolant. Keep the machine running as normal, this allows the cleaner to circulate and reach all internal surfaces. Be sure to:
- Fill the sump to the top
- Open all coolant pipes
- Circulate fully to begin the sterilisation process
This importnant first step softens and loosens bacteria and biofilm ahead of cleaning.
Step 2: Circulate the Fluid
Let the system cleaner run for up to 48 hours. This dislodges:
- Biofilm and slime in coolant pipes
- Sludge in the sump
- Foul-smelling contamination
Regular fluid circulation ensures the cleaner contacts every surface in your coolant system.
Step 3: Remove the Coolant
After circulating the bioflush system cleaner, the used coolant must be removed. Use a coolant vacuum system, such as a Freddy, to extract all liquid from the machine. Then:
- Dispose of the waste coolant legally via a licensed disposal company
- Do not pour coolant down drains – it’s not environmentally safe
Step 4: Remove Swarf & Contaminants
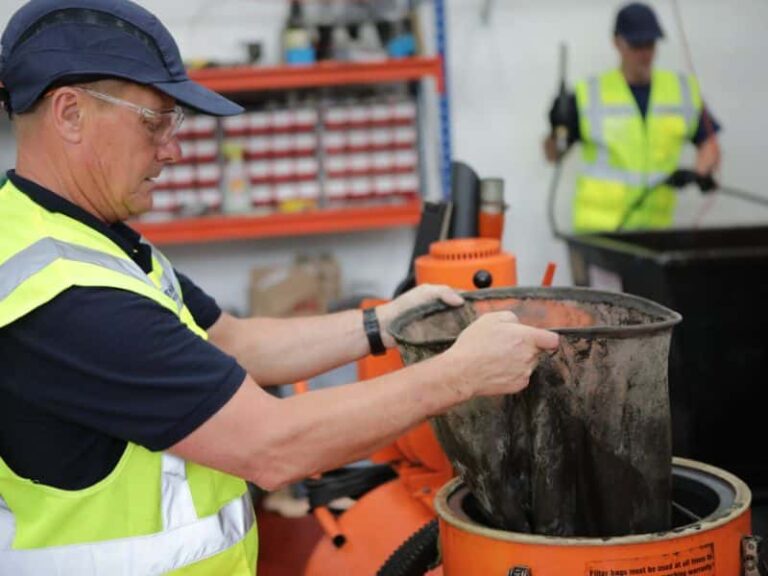
Even after fluid removal, solid debris & swarf will remain in the sump
- Manually clean out swarf, sludge, and any remaining biofilm
- Pay special attention to filtration screens, baffles, and corners of sumps
- Use absorbent wipes or scraping tools where needed
This will ensure you don’t contaminate your new coolant on refill.
Step 5: Refill With Fresh Coolant
Now your system is ready for a fresh fill!
- Check manufacturers guidance on dilution for your new coolant
- For accurate concentration, use a Mixtron dosing pump
- Check the coolant concentration using a refractometer
- Record the concentration to ensure you’re within spec
Proper refilling restores your system’s cooling, lubrication and rust protection.
Download the Printable Infographic
Want a handy version of this guide for your team? Download our Machine Cleaning PDF Guide for a step-by-step coolant cleanout process.
Need Technical Help or a Site Visit?
If you’d like some more help with your application or would like to find out more about machine cleaning, get in touch with our Technical Team! 0114 285 2987 or drop us an email. If you’d like more information on our PROCARE Fluid Management service, click here to learn more about what’s included and how we can help you manage the health of your coolant.